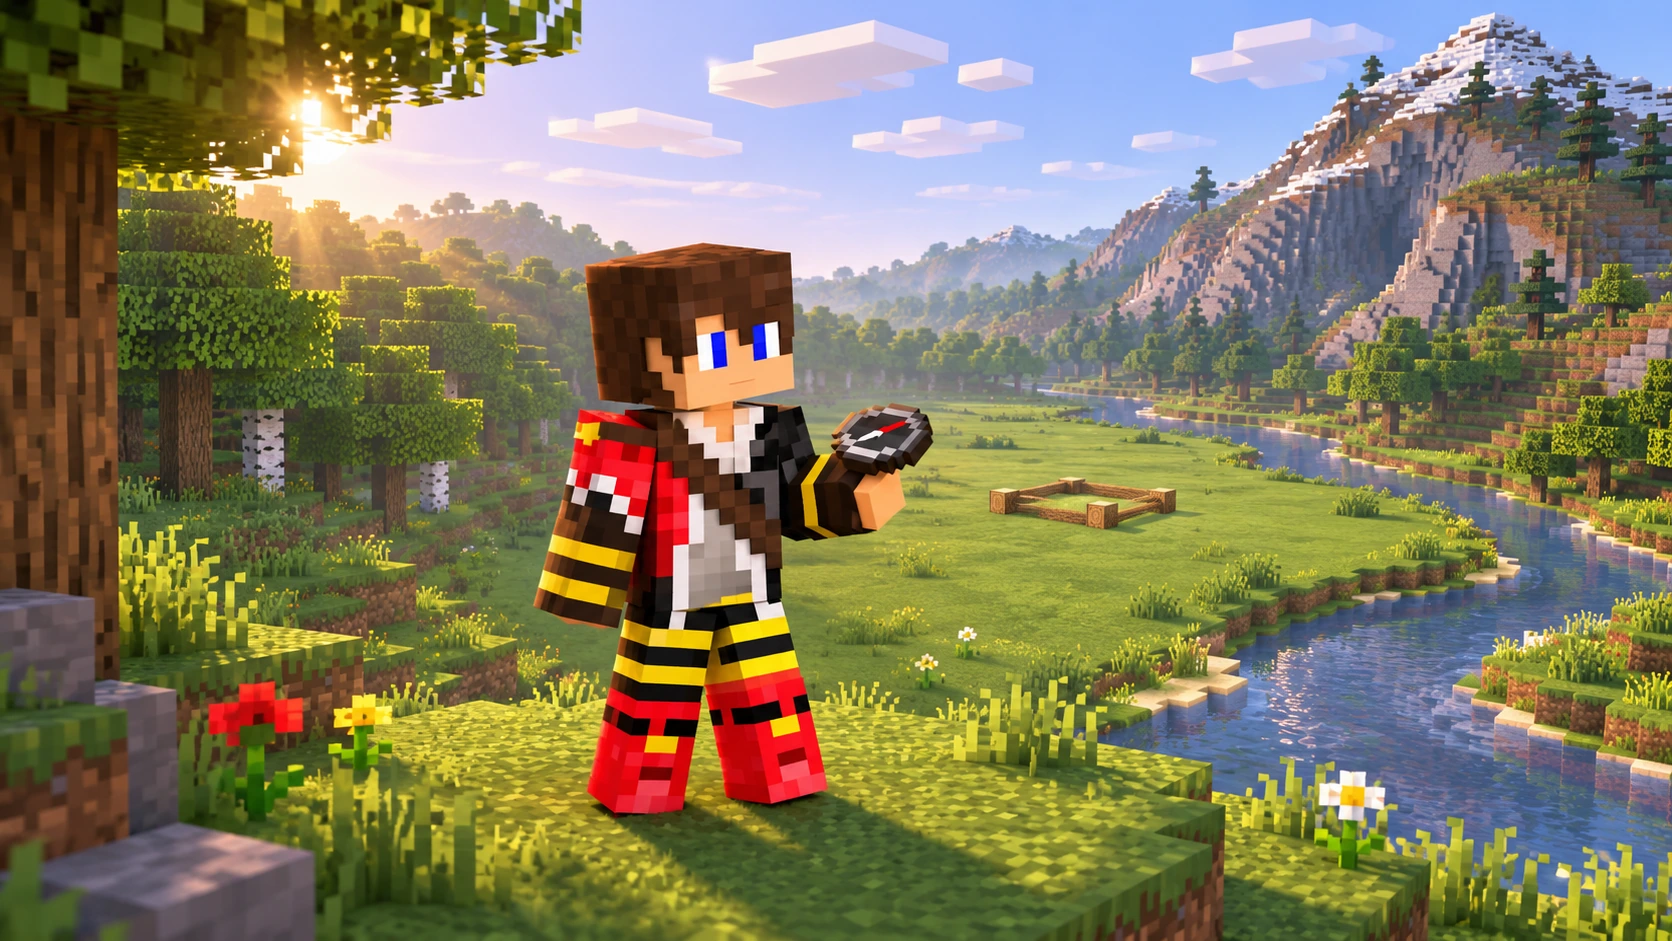
You find a lovely valley, imagine a house beside the river and immediately start planning a tower. Then you notice a neighbour’s claim sign, a path running through the middle and enough hillside digging to fill your next month of evenings.
To choose a base location on a Minecraft SMP server, check the land rules first, then compare space, terrain, neighbours and travel. The right place should suit the project you want to build and the time you have to work on it.
This guide helps you compare possible sites before settling. It includes TogetherCraft’s district and claiming guidance, plus a checklist you can use on your next exploring trip. SMP means Survival Multiplayer, so choosing a home also means considering the other people sharing the world.
- Decide what your base needs
- Choose terrain that suits the project
- Check room for future builds
- Look for neighbours and existing claims
- Test the journey before settling
- Choose a TogetherCraft district
- Claim land when you are ready to build
- Your base location checklist
- Frequently asked questions
Decide what your base needs
Write down the first few things you want your base to contain. A home, storage room and small garden need a different site from a village, harbour or large mountain complex. You do not need a complete blueprint, but a rough idea will help you recognise suitable land.
- Building style: would you enjoy a woodland cottage, a medieval settlement or something more modern?
- Useful space: allow for storage, work areas, paths and any permitted farms.
- Company: would you like nearby neighbours, or more distance around your own projects?
- Time: how much digging, clearing and landscaping would you enjoy before the actual building begins?
- Travel: how will you reach your home with supplies and return to shared areas?
Choose two or three priorities rather than searching for a place that meets every possible wish. If you need inspiration first, our Minecraft SMP build ideas can help you picture a project.
Choose terrain that suits the project
A biome provides the backdrop; the shape of the particular site determines how much work it needs. Two locations in the same biome can feel very different when one is a broad clearing and the other is a steep slope.
| Location | Ideas it could suit | Question to ask |
|---|---|---|
| Open plains or meadow | A cottage, village or connected group of buildings | How much space is actually free once nearby claims and paths are considered? |
| Forest edge | A woodland home or sheltered workshop | Will the design fit among the trees, or require more clearing than you want? |
| Coast or riverbank | A harbour, dock or waterside house | Can you reach the water without altering someone else’s shoreline or route? |
| Hills or mountains | A terraced settlement or mountain entrance | How will you move between levels and fit the rooms inside the terrain? |
| Desert or other open dry terrain | Courtyards, sandstone builds or a dramatic landmark | Does the colour palette suit your plan, and can you supply the materials? |
| Island | A compact retreat or coastal base | Is there room for expansion and a practical route back to shared places? |
Try to work with a feature you already like: a bend in the river, a ridge, a clearing or a natural entrance. A smaller site that fits your idea can be more satisfying than a huge area you need to reshape completely.
These are design suggestions, rather than a ranking of the best Minecraft biomes. The best location for your base is the one whose surroundings and practical demands you will enjoy living with.
Check room for future builds
Stand where the main entrance might go and picture the rest of the base around it. Where would the storage room fit? Would a garden block the approach? Could you add another building without pushing towards someone else’s claim?
Think in three dimensions. A mountain base needs room above and below its entrance, while a coastal build may use both the shore and water. Look for signs of nearby work without entering private spaces or breaking blocks to investigate.
Plan a sensible first stage and a little room to grow. Avoid reserving a huge area simply because you might use it one day. A finished starter home with a clear plan is more useful than a vast empty claim.
Look beyond the house footprint
Leave space for paths, landscaping and everyday movement. Check the position of the whole proposed claim against neighbouring land, rather than measuring only from the wall of your first building.
Look for neighbours and existing claims
Walk around the site before claiming it. Signs, fences, walls, paths and unfinished structures can all be clues that another player is using the area. A quiet or unfinished build does not become available because its owner is offline.
On TogetherCraft, Rule 2.1 says you must not build within 100 blocks of another player’s land claim without their permission. If you are building within 500 blocks of a district hub, a 30 block distance applies. Ask the neighbour if you would like to build closer.
Check the route into the site as well. Do not obstruct public areas or assume you can extend a road through someone else’s land. A brief conversation now can help both players understand where their projects will grow.
If ownership is unclear, ask staff before changing anything. TogetherCraft’s inactivity rules are handled by staff; players must not take over apparently abandoned claims themselves. Our Minecraft server etiquette guide covers visiting and building beside others.
Test the journey before settling
Visit the location using the travel options you will actually have when starting out. A wonderful view may feel less convenient if every supply trip requires a long climb or an awkward crossing. Try the return journey before moving all your belongings.
Record the coordinates and note the route, using tools and mods allowed by the server. Look for a practical approach to your entrance and consider how a visitor could find it with permission. Do not rely on teleport commands being available.
TogetherCraft’s Guide describes a semi vanilla approach to exploration, with district portals linked through the Capitol. Use those systems when considering your daily travel. Before creating a new portal or connection, check the rules and avoid interfering with existing routes.
You do not need every material beside your home. TogetherCraft encourages bulk gathering in its Resource World to preserve the main landscape. That lets you choose a home for its setting while collecting building supplies elsewhere.
Choose a TogetherCraft district
TogetherCraft has themed districts and Free Build districts. Choose one whose style you would enjoy developing, rather than settling in a themed area and hoping to ignore its character.
For example, Aramoor is the Medieval District, suited to castles, forts and medieval houses. Avalon is a Free Build district for players with their own building style. Other districts offer different themes and surroundings.
The /district menu shows information including a district’s biome, theme and coordinates. The Guide explains that district portals are found around the Capitol and work in both directions. Explore a few options before choosing.
A Free Build district still follows the server rules on claims, neighbours and acceptable builds. Read the Guide for the district system and the Rules for the requirements that apply.
Permanent homes belong in permanent worlds
Do not build your home in TogetherCraft’s Resource World or Resource Nether. Those are temporary gathering worlds that can reset. Seasonal areas and other game modes also have their own purposes; check where you are before committing to a lasting build.
Claim land when you are ready to build
Once you have checked the site, mark the claim according to the server’s system. TogetherCraft’s rules describe using a sign, fence or wall with your name. Make the intended area clear without modifying somebody else’s land or obstructing public access.
Land is free to claim on TogetherCraft and cannot be sold to other players. Under Rule 2.10, claimed land that is not built on within 14 days is forfeited. Gather enough supplies and choose a realistic first stage before claiming.
Start with a useful shelter and somewhere to organise materials. You can develop the larger design afterwards. Our storage guide offers ideas for keeping those first supplies manageable.
Also read the inactivity policy before planning an extended break. The main Survival world has no scheduled resets, but players inactive for more than 90 days may lose ownership of land, builds or claims at staff discretion. A lasting world still needs land and project upkeep.
Your base location checklist
- You are in an appropriate permanent world and district.
- The style you want to build suits the district.
- You have checked for existing claims and neighbouring projects.
- The proposed claim meets distance rules, or you have clear permission to build closer.
- The site has room for your first build, paths and a realistic next stage.
- The terrain work fits the time and supplies you have.
- You have tested the route to and from the location.
- Your plan does not obstruct public areas or depend on unapproved connections.
- You can begin building within the claiming deadline.
- You know where to ask if ownership or a rule is unclear.
Compare two or three promising places using the same checklist. Once you have a suitable site, you can start small instead of spending every session searching for a perfect one.
TogetherCraft is an independent, whitelisted adult Minecraft community for Java Edition. If you enjoy the independent bases and shared world associated with Hermitcraft style servers, choosing your own corner is part of the adventure.
To get started, read the Guide and Rules, join the TogetherCraft Discord and follow the whitelist application instructions. If an older world feels daunting, our guide to joining an established Minecraft server can help you settle in.
Frequently asked questions
What is the best base location on a Minecraft SMP server?
Choose somewhere that meets the server rules and suits your project, travel needs and available time. Open land can suit a village, while hills or a coast may provide a setting for a more specialised design.
Which Minecraft biome is best for a starter base?
There is no single best choice for everyone. Look for terrain you can build on with manageable preparation, access you are comfortable using and enough permitted space for your first projects.
How close can I build to another player on TogetherCraft?
The current rule requires 100 blocks from another player’s land claim without permission. If you are building within 500 blocks of a district hub, a 30 block distance applies. Ask for permission if you want to build closer and check the full Rules.
Can I build my home in TogetherCraft’s Resource World?
No. The Resource World and Resource Nether are temporary gathering worlds that can reset. Choose an appropriate permanent location for your home.
How do I choose a TogetherCraft district?
Use the /district menu to view the available districts and their information, then explore the options using the district portals described in the Guide. Choose a theme that suits your plans, or an appropriate Free Build district.
How long do I have to start building after claiming land?
TogetherCraft’s Rule 2.10 says land that is claimed and not built on within 14 days is forfeited. Prepare a realistic first stage before marking a claim.
Can I use an abandoned looking base or claim?
Do not take it over yourself. Another player’s absence does not give you ownership of their land or belongings. Ask staff if a claim’s status is unclear.