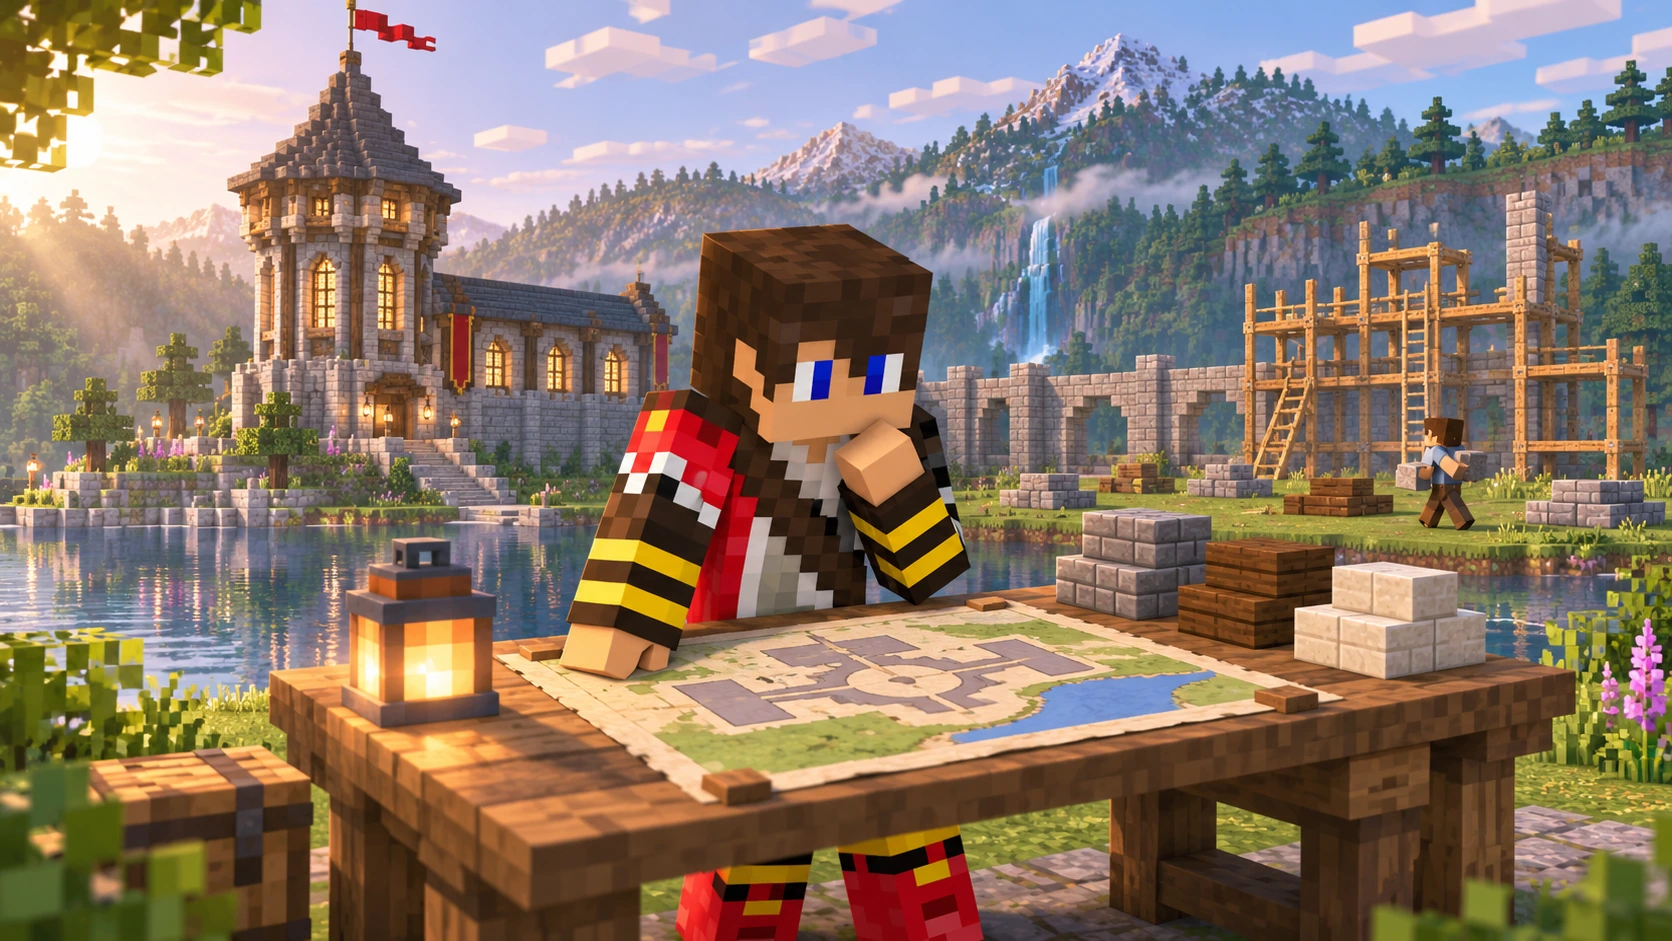
The plan began with a nice house. Somehow it now includes four towers, a harbour, an underground workshop and a mountain that apparently needs moving. You have plenty of ideas, but deciding where to start has become a project of its own.
To plan a Minecraft megabase, define its purpose, sketch the main layout, test a small section and divide the work into stages you can finish separately. Gather materials for the next stage rather than treating the entire build as one enormous task.
A megabase is a large, ambitious base, but there is no official size you need to reach. A village, castle complex or connected underground home can all become substantial projects. The aim is to create something you enjoy using and developing.
- Give the megabase one clear idea
- Plan the layout before the details
- Test your palette and a sample section
- Divide the build into finished stages
- Estimate materials for the next stage
- Make each session easy to start
- Plan shared work with friends
- Build gradually on a shared Survival world
- Frequently asked questions
Give the megabase one clear idea
Describe your project in one sentence. “A lakeside castle with a working courtyard” is easier to plan than “a giant base with everything”. That sentence gives you a way to decide which ideas belong and which can wait.
Choose a few features that matter most. Perhaps you want an impressive entrance, organised storage and a view across the water. Put decorative extras on a separate list so they do not delay the useful centre of the base.
Think about daily life inside it. Where will you arrive with materials? How far is the storage from the workshop? A spectacular exterior is more enjoyable when the place also works as your home.
Start with a minimum finished version
Choose the smallest version you would be happy to use. For a castle, that might be one complete tower and courtyard. The larger vision can remain on the plan while the first version becomes a place you already enjoy.
Plan the layout before the details
Sketch the site using a simple drawing or a rough plan in a separate Creative world. Mark the major buildings, paths, entrances and height changes. At this stage, a rectangle labelled as a workshop is enough; you do not need to design every window.
Check the space on the actual site before committing. A tower that fits on paper may crowd a hillside or leave no room for the approach. Our base location guide covers terrain, travel and neighbouring claims.
On a shared server, plan within the land you are permitted to use. Check district themes and claiming requirements before placing markers, digging foundations or extending towards another player’s project. Ask permission for any connection that affects their land.
Test your palette and a sample section
Choose a small group of materials for the main surfaces, structural details and accents. For example, you could test stone bricks for walls, spruce for roofs and a lighter block around windows. These are design suggestions, not a required palette.
Build one representative section before repeating it. Include a corner, a doorway or window and part of the roof. Look at it from the distance visitors will see it, as well as from directly beside the wall.
Use the test to check proportions and the cost of repeated details. If one window surround takes more materials than you want to gather, simplify it before copying the design twenty times. Keep a reference sample or screenshots so later sections remain consistent.
If you use planning mods, check the server’s allowed mods and settings first. A design tool being available does not mean every feature is permitted.
Divide the build into finished stages
Break the plan into sections with visible finishing points. “Work on the castle” can mean anything. “Finish the roof and furnish the first tower” gives you a task you can actually complete.
Here is an example sequence you can adapt to a castle project:
| Stage | Castle example | A clear finishing point |
|---|---|---|
| 1. A useful first building | One tower containing a bed, storage and a work area | A complete roof, usable rooms and a safe entrance |
| 2. The main approach | A gate and path connecting the tower to the site | A route you can use without crossing unfinished ground |
| 3. One new wing | A hall, workshop or storage extension | A complete exterior and a useful interior |
| 4. The surrounding grounds | A courtyard, garden or small waterfront | One landscaped area with connected paths |
| 5. Optional expansion | Another tower or neighbouring buildings | A separate project you can choose when ready |
You do not have to finish these stages in a fixed number of evenings. Make each one useful on its own, and leave clear connection points for the next. A completed tower still feels like progress if the second wing waits a while.
For a village, use individual buildings as milestones. For an underground base, use rooms and the corridors between them. Our Minecraft SMP build ideas offers other projects that can grow in stages.
Estimate materials for the next stage
Use your sample section to make an initial estimate. Count the blocks needed for one repeating part, multiply by the number you plan to build, then add the separate floors, roof and interior. Note stairs, slabs and other variants separately so you know which finished blocks to prepare.
Example: if a sample wall panel uses 48 stone bricks and you want six identical panels, that part needs 288 stone bricks. Corners, openings, the roof and any later changes need their own counts. This is an estimating method, not a material list for a complete castle.
Prepare the next stage’s supplies in labelled storage. Keep them separate from everyday stock, and note what still needs collecting. Our storage guide can help you organise a growing project.
On TogetherCraft, use the Resource World for bulk gathering as described in the Guide. Keep permanent buildings and valuable project storage out of temporary resource worlds. If you buy materials from player shops, check prices, quantities and stock before planning around a purchase.
Make each session easy to start
Before logging out, leave yourself a short note with the next task and the materials it needs. “Finish the west tower stairs” is much easier to return to than a half remembered idea somewhere behind a wall.
- For a short session: count materials, finish a window surround or furnish a small room.
- For a longer session: complete a roof section, build a staircase or landscape one courtyard.
- For a change of pace: gather supplies, visit an event or work on a small unrelated idea.
- At the end: clear up temporary clutter and record the next sensible step.
Take occasional screenshots from the same viewpoint. They can help you notice progress that is hard to see while you are concentrating on individual blocks. Change the plan if a section stops being enjoyable; making a project smaller is a valid design decision.
If you play around work and other commitments, our article on Minecraft for busy adults offers ideas for keeping sessions manageable.
Plan shared work with friends
Agree the overall style, land ownership and responsibilities before dividing the build. Make it clear which materials are shared, who may change completed sections and what should happen if somebody takes a break.
Give helpers tasks with a clear boundary, such as one garden or one agreed wall section. Keep a reference palette and discuss changes before they spread across the whole project. Avoid assigning the most enthusiastic person an unlimited job gathering everyone else’s supplies.
Permission to help with one part is not permission to change every part. Our server etiquette guide explains considerate shared building, and the TogetherCraft Rules remain the reference for claims and belongings.
Build gradually on a shared Survival world
TogetherCraft is an independent, whitelisted adult Minecraft community for Java Edition. The main Survival world has no scheduled resets, giving you time to revisit a project and develop it gradually.
That does not remove the need to follow claiming and inactivity rules. Read the Guide and Rules before reserving space, planning farms or taking a long break. Choose a first stage you can realistically begin.
If you enjoy the ambitious bases and shared projects associated with Hermitcraft style servers, start with a clear idea and let it grow. You can browse the Snapshots gallery for real community builds, then bring your own style to the world.
Your next step can be small
Write your one sentence idea, sketch the first useful section and test one piece of the palette. If you are looking for somewhere to begin, join the TogetherCraft Discord and follow the application instructions after reading the Guide and Rules.
Frequently asked questions
How do I start planning a Minecraft megabase?
Describe the idea in one sentence, choose its essential features and sketch the main layout. Test one representative section before gathering materials for the whole project.
How big does a Minecraft megabase need to be?
There is no official minimum size. Use the term for a large, ambitious project and choose a scale that suits your plans, site and available time.
Should I collect all the materials before building?
You can gather for one stage at a time. A sample section helps estimate repeating parts, and smaller batches make it easier to adjust the design without preparing unused supplies.
Can I build a megabase if I only play occasionally?
Plan useful sections with clear finishing points and leave notes for your next session. Check the server’s inactivity rules before taking a longer break.
Is it better to build a megabase alone or with friends?
Either can work. Solo building gives you control over the design; a shared project benefits from clear agreements about style, ownership, supplies and who can change each section.
Can I test my design in Creative first?
A separate Creative test world can help you check shapes, palettes and repeated sections. When moving to a server, follow its rules for mods, tools and building assistance.
Does TogetherCraft’s main Survival world have scheduled resets?
The main Survival world has no scheduled resets. Temporary resource worlds have different policies, and claims and builds remain subject to the server’s upkeep and inactivity rules.