
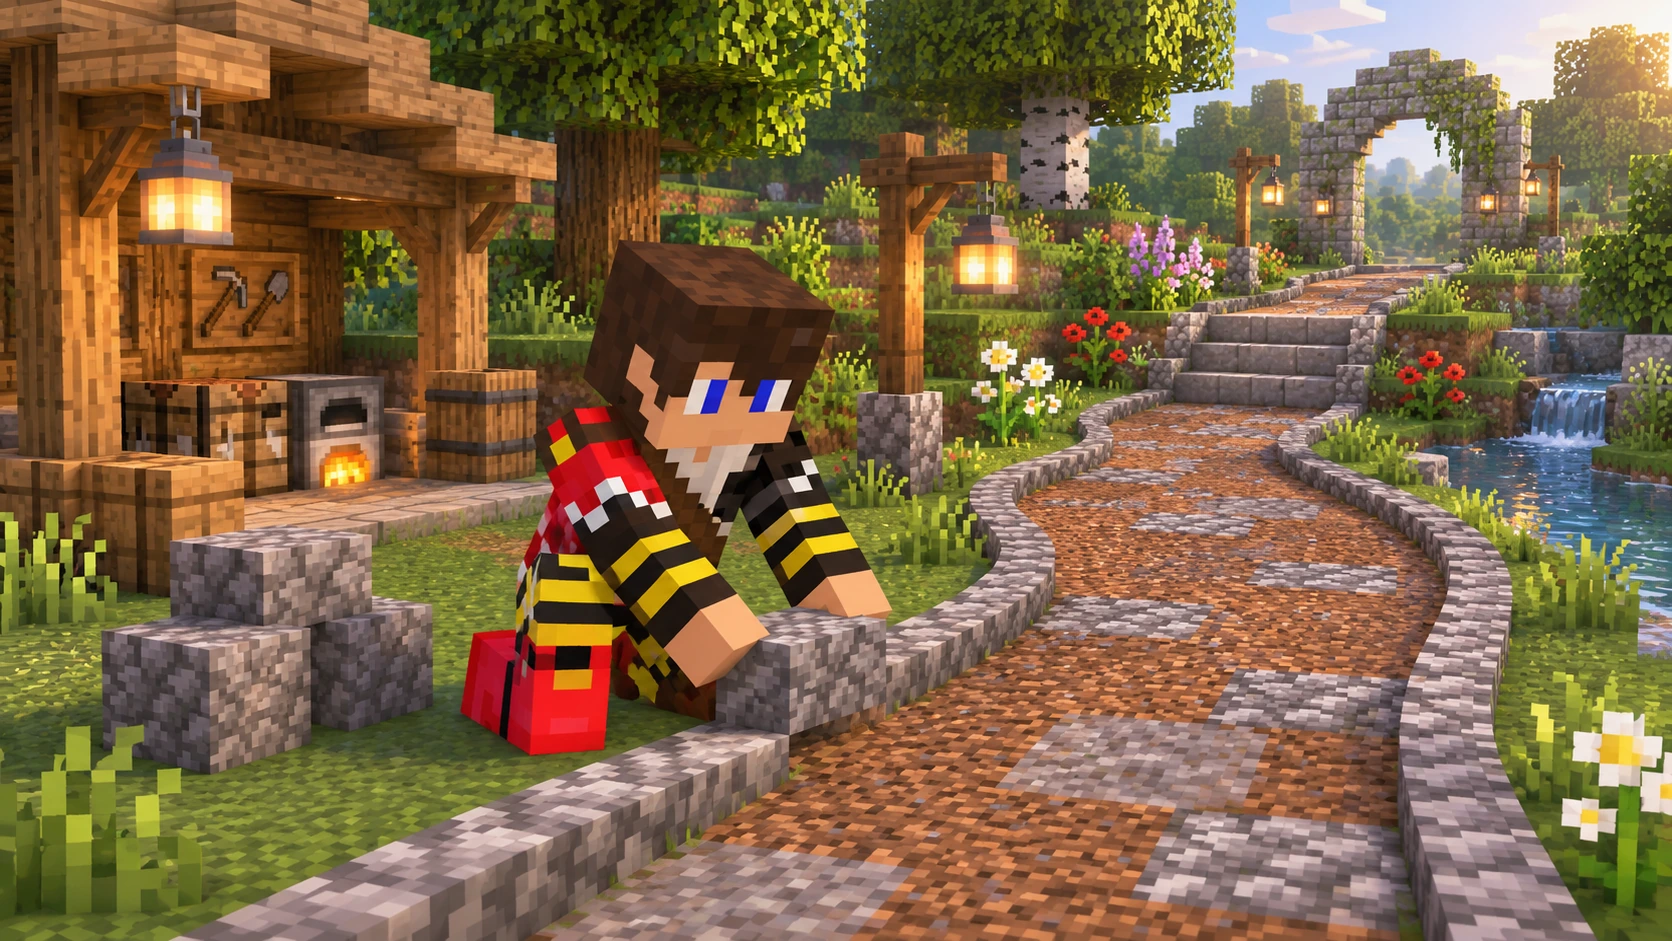
You have a house, a workshop and a lovely little garden. Between them is the same strip of grass you have been running across for weeks. A path can turn those separate builds into a place that feels planned and lived in.
These Minecraft path ideas combine simple material palettes with routes for different settings. Choose a style that suits the buildings, test a short section and make sure it is comfortable to use before extending it.
The ideas work for personal Survival bases and agreed shared projects on an SMP. They are design suggestions rather than exact blueprints or material lists.
- Plan the route before choosing blocks
- Ten Minecraft path ideas
- Use texture without making the path busy
- Check width, steps and lighting
- Connect builds considerately on an SMP
- Develop your routes on TogetherCraft
- Frequently asked questions
Plan the route before choosing blocks
Decide what the path connects and walk the journey first. A direct route may suit a workshop, while a garden walk can take a gentle bend past a pond or a favourite view. Give a curve a reason instead of adding turns that make ordinary trips awkward.
Look at entrances, slope changes and places where another route might join later. Mark the edges temporarily on land you are allowed to alter, then check the shape from ground level. The base location guide can help with the wider layout.
Build one test section first
Try a short stretch with an edge, a bend and any height change you need. Walk it in both directions before gathering materials for the whole route.
Ten Minecraft path ideas
1. A woodland trail
Follow the gaps between trees and use gentle bends to reveal the next landmark. Let grass and planting soften the edges, while keeping the walking space easy to recognise.
Suggested palette: Coarse dirt, gravel, cobblestone and occasional mossy cobblestone.
Start here: Finish a short stretch between two trees and check it from both directions before extending.
2. A medieval village lane
Use a dominant stone with a smaller amount of related texture, then add a clearer edge beside buildings. A wider entrance near a doorway can become a little square without widening the entire route.
Suggested palette: Cobblestone, stone bricks, andesite and stone slabs.
Start here: Connect two entrances, then decide where a bench, well or sign would naturally belong.
3. A cottage garden path
Give the route a destination, such as a garden gate or seating area. Repeat a few border plants instead of using every flower you own, and keep decoration beside the route rather than across it.
Suggested palette: Gravel, stone slabs, mossy cobblestone and flowers.
Start here: Build the path to one gate and add a single planted border.
4. A harbour boardwalk
A timber walkway can connect a boathouse, dock and warehouse while preserving the shoreline beneath. Repeat supports and railings to make separate buildings feel part of the same waterfront.
Suggested palette: Spruce planks, oak logs, wooden slabs and fences.
Start here: Complete the section beside one building, including its approach and edge protection.
5. Mountain steps and landings
Work with the slope by linking short stair sections and small landings. A landing gives you space for a view or a change of direction without turning the whole hillside into one staircase.
Suggested palette: Stone bricks, cobblestone walls, stone stairs and spruce details.
Start here: Finish one climb from bottom to top and walk it before copying the design elsewhere.
6. A sandstone courtyard route
Use a restrained pale surface between buildings, with a repeated border to define the route. A small shaded courtyard can serve as a junction while leaving the main path uncomplicated.
Suggested palette: Sandstone, cut sandstone, smooth sandstone and terracotta accents.
Start here: Lay a sample beside the building wall so you can judge whether the surface and architecture need more contrast.
7. A formal avenue
A straight approach can give a large hall, manor or monument a strong entrance. Use repeated lamp posts or planters at consistent intervals, with enough space for them to frame the view.
Suggested palette: Stone bricks, polished andesite, slabs and trimmed leaf borders.
Start here: Mark the centre line and build one repeated section before laying the whole avenue.
8. A riverside promenade
Follow the water with a mostly clear walkway and occasional wider places to stop. Keep access to agreed docks obvious and avoid extending across neighbouring claims or changing someone else’s shore.
Suggested palette: Stone bricks, cobblestone, slabs and wooden seating details.
Start here: Complete a stretch between two existing access points, then add one seating area.
9. A fantasy garden walkway
Choose one unusual accent and repeat it sparingly. The path should still be easy to follow, with arches or planting framing it rather than hiding every turn.
Suggested palette: Moss blocks, stone bricks, amethyst blocks and leaves.
Start here: Test one archway and a short connecting path. Keep rare accent blocks for focal points if supplies are limited.
10. An industrial workshop route
Use a practical layout with direct access to work areas and storage entrances. Strong borders and a consistent floor pattern can link separate utility buildings without requiring a decorative garden around each one.
Suggested palette: Stone, polished andesite, stone bricks and iron bar details.
Start here: Connect the busiest entrance to the main work area, then walk the route carrying supplies to see whether the layout is convenient.
Use texture without making the path busy
Choose one main material, one supporting texture and an optional accent. You can add variety later, but starting with a small palette makes it easier to see whether the route belongs beside your buildings.
Place related textures in small patches rather than treating every block as a separate colour decision. Use a clearer edge when the surface is close in colour to the surrounding ground. A path does not need a border everywhere; try it where it helps explain the route.
You can also change the treatment near a destination. A woodland trail might become a stone threshold outside a workshop, or a gravel lane could open into a paved square. Repeat a material across the transition so the two sections feel connected.
Check width, steps and lighting
Choose the width for the way the route will be used. A three block wide surface is one useful design starting point for a small shared lane, but it is not a Minecraft requirement. A narrow garden trail and a formal avenue can suit very different widths.
- Keep the walking line clear. Put lamp posts, planters and seating outside the space people need to use.
- Test changes in height. Walk the stairs and slabs from both directions and check the approach to doors and gates.
- Make edges easy to read. Consider railings or walls beside drops and raised walkways.
- Visit after dark. Check that you can see the route and its junctions. Review the area’s lighting needs rather than assuming decorative lamps make every nearby surface safe.
- Check the entrance. A beautiful path is frustrating if its final turn runs straight into a fence or awkward doorway.
Finish one complete connection before extending into every corner of the base. Our megabase planning guide explains how useful stages can make larger projects easier to manage.
Connect builds considerately on an SMP
Agree the route before connecting to another player’s home, road or bridge. Permission to visit does not mean permission to alter the approach. Ask about the exact junction, materials and any changes to the surrounding landscape.
For a shared route, decide who supplies materials, who owns the affected land and who can make later changes. Keep public access clear and check the server’s claiming and world preservation rules before placing blocks.
You can use a common surface between different building styles, then let each owner design the final entrance to their own base. Our projects for couples and friends includes ways to divide that work, and our server etiquette guide covers permission and neighbouring builds.
Develop your routes on TogetherCraft
TogetherCraft is an independent, whitelisted adult Minecraft community for Java Edition. Its main Survival world has no scheduled resets, giving you time to connect and improve your own projects gradually.
Choose materials and designs that fit your district, and check the Guide and Rules before working on claims or shared routes. Do not change district hubs, public infrastructure or another player’s work without the appropriate permission.
Keep permanent projects out of temporary resource worlds. For bulk gathering and longer absences, read the current resource world and inactivity guidance rather than assuming every area follows the same policy.
If you enjoy the developed bases and community projects associated with Hermitcraft style servers, a simple path can be a useful contribution to an agreed build. Browse our Survival build ideas for places it might lead.
To apply to TogetherCraft, read the Guide and Rules, join the TogetherCraft Discord and follow the whitelist application instructions.
Frequently asked questions
What blocks make a good Minecraft path?
Choose materials that suit the setting and nearby buildings. Coarse dirt, gravel and cobblestone can suit a rustic trail; stone bricks and polished stone can suit a more formal route.
How wide should a Minecraft path be?
There is no single required width. Test a width that fits its use, leaving clear space around decorations. Three blocks can be a useful starting point for a small shared lane.
How do I make a Minecraft path look natural?
Let it follow the terrain and connect real destinations. Use gentle bends where they make sense, a restrained palette and planting beside the walking space.
Should every path in my base use the same materials?
You can vary the style by area while repeating some materials at junctions. A consistent transition can connect a rustic garden trail to a more formal entrance.
Can I connect a path to another player’s base?
Ask permission first and agree the route and connection. Follow the server’s land and public access rules before changing anything.
Can I improve an existing public path on TogetherCraft?
Do not alter shared infrastructure simply because you think it would look better. Check who is responsible and get the appropriate permission before making changes.
Are these complete Minecraft path tutorials?
These are design ideas with suggested palettes and first steps. Test a sample and adapt the shape, width and details to your site.