
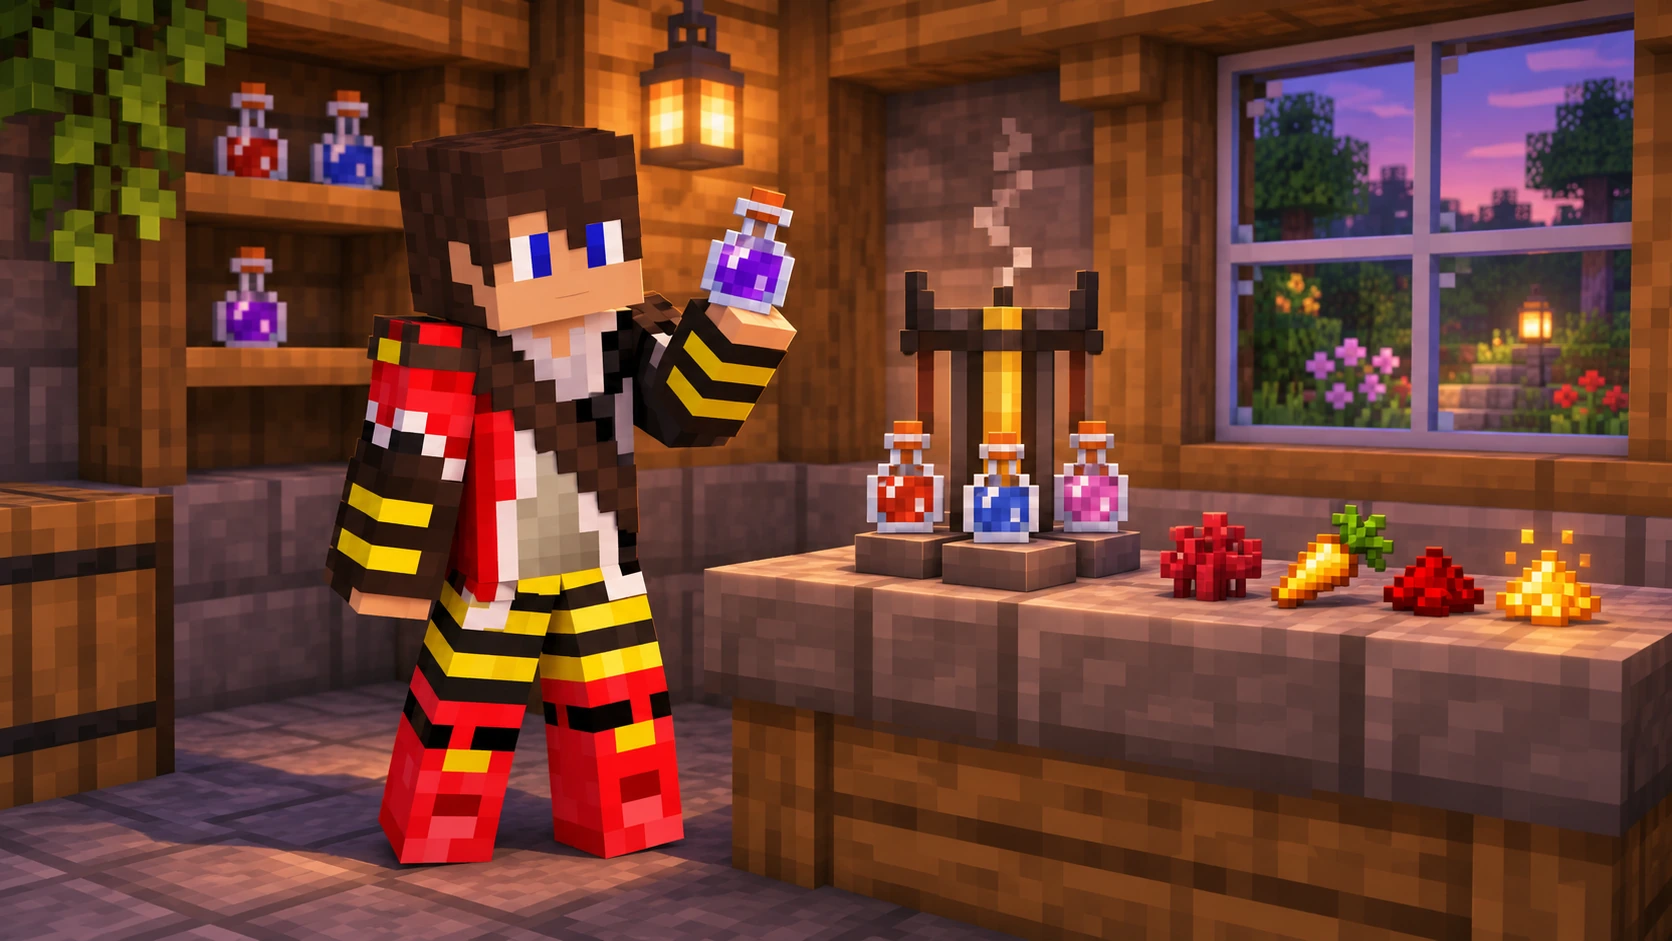
A brewing stand, a handful of ingredients and three bottles of water. What could possibly go wrong? Usually, forgetting the Nether wart and wondering why your carefully prepared drink does absolutely nothing.
Minecraft potions can make a huge difference when exploring, building and surviving difficult encounters. Fire Resistance is a useful companion in the Nether, Water Breathing gives underwater projects more breathing room, and Slow Falling can make an unexpected drop much less dramatic.
This Minecraft potions guide explains standard Java survival brewing recipes, modifiers and useful combinations, with practical advice for your next TogetherCraft adventure.
Start with these three useful brews
Our first picks are Fire Resistance for Nether trips, Water Breathing for underwater work and Slow Falling for adventures involving dangerous heights. Most effect potions start with a Water Bottle and Nether wart, which makes an Awkward Potion.
In This Guide
- What You Need to Brew Potions
- How to Brew Your First Potion
- Minecraft Potion Recipe Table
- Redstone, Glowstone and Other Modifiers
- Invisibility, Weakness and Corrupted Potions
- Splash and Lingering Potions
- Trial Chamber Potions
- Useful Potions for Every Adventure
- Common Brewing Mistakes
- Frequently Asked Questions
What You Need to Brew Potions
| Supply | What It Does |
|---|---|
| Brewing stand | Holds your bottles and ingredients |
| Blaze powder | Fuels the brewing stand |
| Glass bottles filled with water | Provide the starting bottles for brewing |
| Nether wart | Turns Water Bottles into Awkward Potions |
| An effect ingredient | Determines the potion, such as magma cream for Fire Resistance |
| Optional modifiers | Change eligible potion strength, duration or delivery |
Craft a brewing stand with one blaze rod above a row of three cobblestone. You can also find brewing stands in certain structures, but you still need blaze powder to fuel them.
Craft three glass bottles using three glass blocks in a V shape, then use them on water to fill them. Put up to three bottles in the bottom slots and your ingredient in the top slot.
Blaze powder has two separate jobs. In the fuel slot it powers the stand; in the ingredient slot it makes Strength when brewed into an Awkward Potion.
Brew three bottles together
One ingredient can process up to three suitable bottles in the same brewing step. Filling all three slots makes better use of your ingredients. Each step uses fuel, so a finished potion can involve several fuel charges.
How to Brew Your First Potion
Fire Resistance is a good first recipe to learn. It follows the same basic process as many other potions.
- Add blaze powder to the brewing stand’s fuel slot.
- Place up to three Water Bottles in the bottom slots.
- Add Nether wart to the ingredient slot and wait for Awkward Potions.
- Replace the ingredient with magma cream and wait for Fire Resistance potions.
- Optionally add redstone dust to extend the duration from three minutes to eight minutes.
Check the bottle’s name and effect before removing it. An Awkward Potion is only a base and does not give Fire Resistance by itself.
Planning a mining trip? Our netherite guide explains what else to prepare before searching for ancient debris.
Minecraft Potion Recipe Table
Every recipe in this table starts with an Awkward Potion. Brew the listed ingredient into that base to produce the result. Transformation recipes and the Weakness exception appear in their own section below.
| Potion | Ingredient | Main Use |
|---|---|---|
| Fire Resistance | Magma cream | Protection from fire and lava damage |
| Water Breathing | Pufferfish | Prevents your air supply running down underwater |
| Night Vision | Golden carrot | Improves visibility in dark areas |
| Slow Falling | Phantom membrane | Slows falling and prevents ordinary fall damage |
| Swiftness | Sugar | Increases movement speed |
| Strength | Blaze powder | Increases melee attack damage |
| Healing | Glistering melon slice | Restores health instantly to living targets |
| Regeneration | Ghast tear | Restores health over time |
| Leaping | Rabbit’s foot | Increases jump height |
| Poison | Spider eye | Applies Poison, harmful to susceptible targets |
| Turtle Master | Turtle shell | Provides Resistance alongside strong Slowness |
Use a glistering melon slice for Healing, rather than a normal melon slice. Turtle Master needs the crafted turtle shell, not an individual turtle scute.
Night Vision does not stop drowning, and Water Breathing does not make an ocean monument harmless. Choose effects for the problem you are trying to solve.
Redstone, Glowstone and Other Modifiers
| Modifier | Starting Point | Result |
|---|---|---|
| Redstone dust | An eligible effect potion | Longer duration |
| Glowstone dust | An eligible effect potion | A stronger effect, usually with shorter duration |
| Fermented spider eye | A compatible starting potion | A different effect |
| Gunpowder | A drinkable potion | A throwable splash potion |
| Dragon’s breath | A splash potion | A lingering potion that leaves an effect cloud |
Not every potion supports every modifier. Fire Resistance, Water Breathing and Night Vision can be extended, but do not have a stronger level II brewing variant.
Where both extended and stronger variants exist, choose between them. You cannot normally brew a potion that combines the extended duration with the enhanced strength.
Useful Duration Examples
| Drinkable Potion | Standard | With Redstone |
|---|---|---|
| Fire Resistance | 3:00 | 8:00 |
| Water Breathing | 3:00 | 8:00 |
| Night Vision | 3:00 | 8:00 |
| Slow Falling | 1:30 | 4:00 |
| Swiftness | 3:00 | 8:00 |
| Strength | 3:00 | 8:00 |
These durations are for the drinkable versions. Adding glowstone to standard Swiftness or Strength instead gives a stronger level II potion lasting 1:30.
Invisibility, Weakness and Corrupted Potions
A fermented spider eye changes certain recipes rather than simply making them stronger. Craft one using a spider eye, sugar and a brown mushroom.
| Starting Bottle | Add | Result |
|---|---|---|
| Water Bottle | Fermented spider eye | Weakness |
| Night Vision | Fermented spider eye | Invisibility |
| Swiftness | Fermented spider eye | Slowness |
| Leaping | Fermented spider eye | Slowness |
| Healing | Fermented spider eye | Harming |
| Poison | Fermented spider eye | Harming |
Weakness is the useful exception to the Awkward Potion rule. Start with Water Bottles and add a fermented spider eye; Nether wart is not required for that recipe. The brewing stand still needs fuel.
For curing a zombie villager, apply Weakness and then use a normal golden apple on it. A Splash Potion of Weakness is a convenient way to apply the effect.
Invisibility does not hide worn armour and held equipment, and it does not guarantee mobs will ignore you. It is useful, but it is not a licence to stroll through every dangerous structure.
Splash and Lingering Potions
Splash Potions
Add gunpowder to a drinkable potion to make a splash potion. Throw it to apply the effect around the impact point.
For beneficial effects, aim carefully so your intended target receives a strong application. Distance from the impact can reduce the duration or strength of the application.
Healing and Harming behave differently on undead mobs: Instant Health damages them, while Instant Damage heals them. Check what you are throwing and who is nearby.
Lingering Potions
Add dragon’s breath to a splash potion to make a lingering potion. It creates a cloud that applies its effect to entities entering it, with shorter effect durations than the equivalent drinkable version.
Collect dragon’s breath by using glass bottles on the Ender Dragon’s breath clouds. Bring bottles when you are prepared for that encounter, rather than trying to improvise while standing in the cloud.
In Java Edition, surround a lingering potion with eight arrows in a crafting table to make eight matching tipped arrows.
Trial Chamber Potions
The trial related potions have more specialised effects than everyday utility brews. All four recipes below start with Awkward Potions.
| Potion | Ingredient | Effect |
|---|---|---|
| Wind Charging | Breeze rod | Affected entities release a wind burst on death |
| Weaving | Cobweb | Affected entities spread cobwebs on death |
| Oozing | Slime block | Affected entities can spawn slimes on death |
| Infestation | Stone | Affected entities can spawn silverfish when hurt |
Use a slime block for Oozing, rather than a slimeball, and stone for Infestation, rather than cobblestone. Some entities are immune to particular effects.
These are specialist tools for planned setups, rather than potions we recommend drinking before a casual adventure. Their effects can create mobs or blocks, so use them thoughtfully around shared spaces and other players.
Useful Potions for Every Adventure
| Adventure | Useful Potions |
|---|---|
| Ancient debris mining | Fire Resistance, with Healing or Regeneration for recovery |
| Underwater building | Water Breathing and Night Vision |
| Exploring the End | Slow Falling, with healing supplies accessible |
| Long journeys on foot | Swiftness |
| Difficult melee encounters | Strength, Healing and Regeneration |
| Curing a zombie villager | Splash Weakness, plus a normal golden apple |
Potions support your equipment
Fire Resistance does not protect against explosion damage. Water Breathing does not prevent guardian attacks, and Slow Falling does not save you from the void. Keep your equipment, route and remaining effect time in mind.
Potions work alongside a dependable food supply and good equipment. See our Minecraft food guide and enchantments guide when packing for a longer trip.
Common Brewing Mistakes
- Starting with the wrong bottle. Most effect recipes need an Awkward Potion, while Weakness starts directly from water.
- Putting fuel in the ingredient slot. Blaze powder in the top slot is an ingredient, not a replacement for fuel.
- Confusing redstone and glowstone. One extends eligible effects; the other strengthens eligible effects.
- Using the wrong ingredient. Watch for glistering melon, turtle shells, slime blocks and stone.
- Forgetting the timer. Leave yourself time to reach safety before an effect expires.
- Using milk without thinking. Milk removes helpful potion effects as well as harmful ones.
Frequently Asked Questions
Do All Minecraft Potions Need Nether Wart?
Most brewed effect potions start with an Awkward Potion made using Nether wart. Weakness is the important exception covered here: add a fermented spider eye directly to Water Bottles.
Why Is My Brewing Stand Not Working?
Check that it has blaze powder fuel, suitable bottles in the bottom slots and the correct ingredient in the top slot. An ingredient will not work with every starting potion.
Can I Brew Three Potions with One Ingredient?
Yes. One ingredient processes up to three compatible bottles in a brewing step. Each step still uses fuel, so making a finished batch can involve several steps.
What Is the Difference Between Redstone and Glowstone?
Redstone extends the duration of eligible potions. Glowstone strengthens eligible potions, usually at the cost of duration. Not every effect supports both options.
How Do I Make an Eight Minute Fire Resistance Potion?
Brew Water Bottles with Nether wart, then magma cream, then redstone dust. The finished drinkable Fire Resistance potion lasts eight minutes.
Can You Brew a Potion of Luck in Normal Survival?
A Potion of Luck is not normally brewable in standard Java survival. Server rewards or commands may provide items outside the usual brewing recipes.
Does Invisibility Hide Armour?
No. Worn armour and held items remain visible, and mobs may still detect you at close range. Do not treat Invisibility as guaranteed protection.
Will Milk Remove My Potion Effects?
Yes. Drinking milk removes beneficial effects as well as harmful ones. Keep that in mind before clearing an unwanted effect during an adventure.
Prepare Your Next Adventure on TogetherCraft
Keep a small brewing area stocked with water, Nether wart and blaze powder, then prepare the potions you actually use. A labelled storage system is much more helpful than a chest full of mysterious colourful bottles.
For ingredients and player listings, browse the TogetherCraft Shop Directory and check individual shops for stock. Our server guide will help you find your feet.
TogetherCraft is an adult Minecraft server for building, exploring and sharing survival adventures. If you are looking for a Hermitcraft like server, discover your next community at TogetherCraft.