
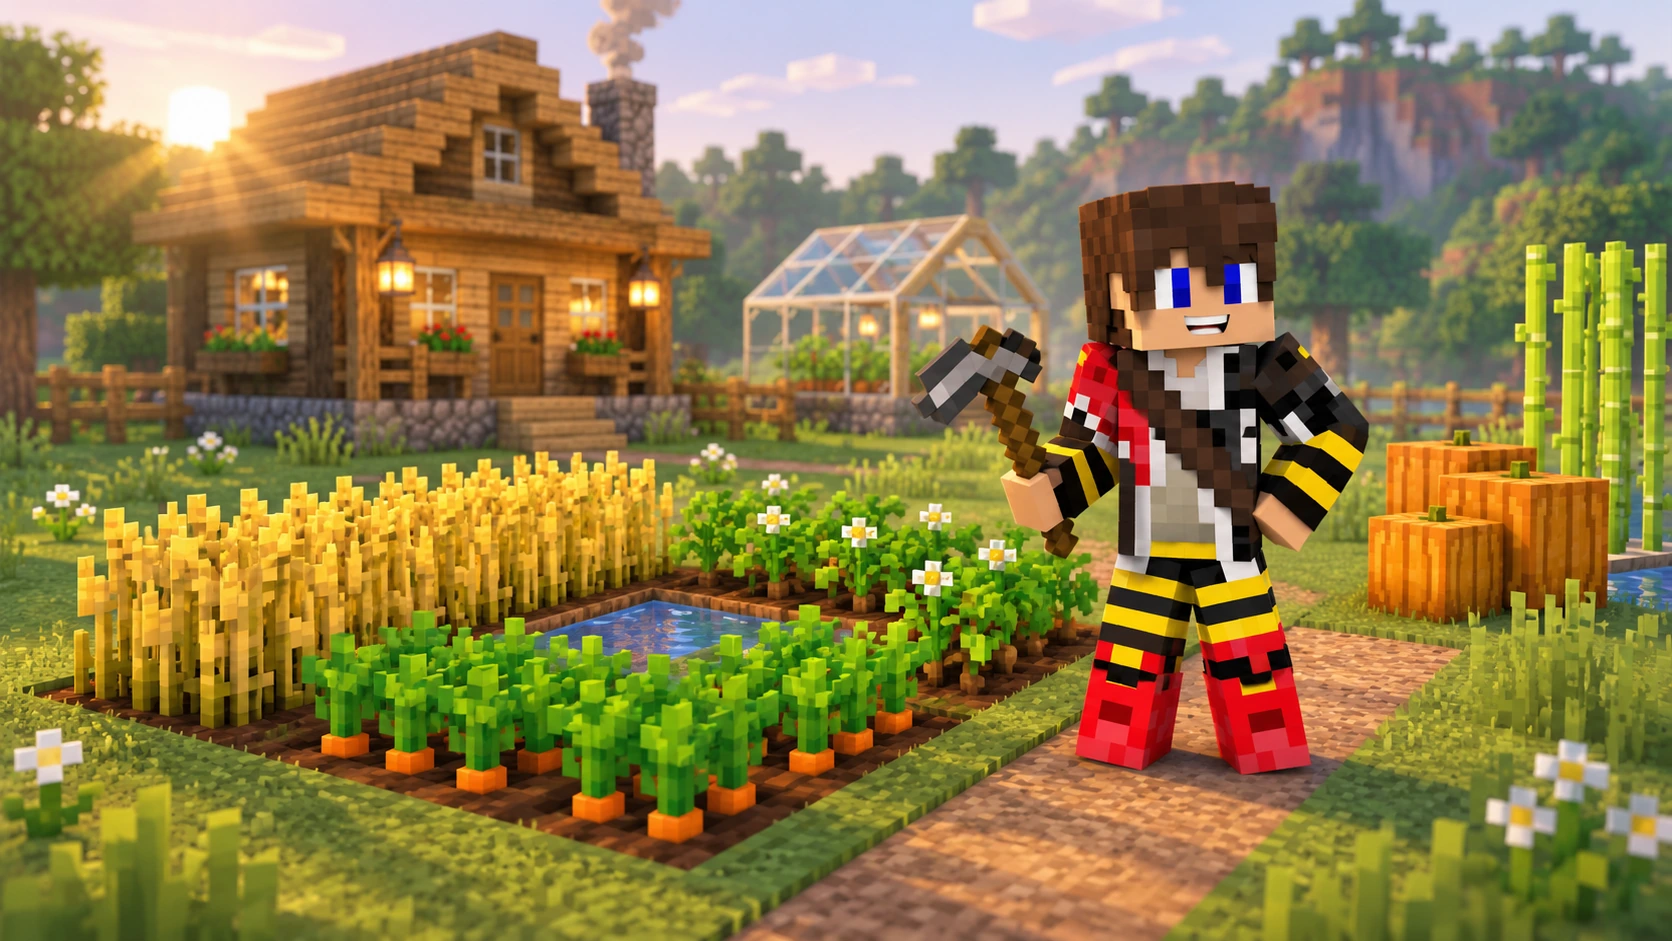
Every great survival base deserves a little garden. Perhaps you want a steady supply of baked potatoes, enough paper for your next adventure, or a pumpkin patch that makes the farmhouse look properly lived in. A few sensible plots can do all of that without turning your home into an enormous redstone machine.
This Minecraft farming guide covers the crops we would start with, a simple layout you can build beside your base, and the small details that make harvesting easier. Grab a hoe, save a few seeds, and try to resist eating the last potato.
Quick answer: start with food, then add useful materials
We recommend potatoes or carrots for your first food plot, a little wheat for bread and animals, and sugar cane for paper. Add pumpkins, melons and bamboo when you have a use for them. A 9 × 9 plot with one central water block is a useful starting layout for farmland crops.
In This Guide
- Best Crops to Grow First
- Build a Simple Starter Farm
- Water, Lighting and Crop Growth
- Pumpkins and Melons
- Sugar Cane and Bamboo
- Harvesting and Useful Upgrades
- Common Farming Problems
- Frequently Asked Questions
- Grow Something Together
Best Crops to Grow First
The best crop depends on what you need. For a new base, we would prioritise something you actually eat and something that supports your next project. You can always expand once the first harvest is safely in a chest.
| Crop | Best uses | Our recommendation |
|---|---|---|
| Potatoes | Baked potatoes and farmer trading | A practical first food crop if you have fuel for cooking |
| Carrots | Food, golden carrots and farmer trading | Convenient to harvest and replant from the same item |
| Wheat | Bread, animal breeding and hay bales | Keep a small patch even if another food is your favourite |
| Beetroot | Red dye, soup and farmer trading | A useful extra rather than our first choice for everyday food |
| Pumpkins | Trading, pumpkin pie and decorative builds | Add a few stems when you have room |
| Melons | Slices, trading and glistering melon slices | Useful once you are planning trading or brewing |
| Sugar cane | Paper and sugar | Start early so a paper supply is ready when you need it |
| Bamboo | Scaffolding, sticks and bamboo building materials | Grow a modest patch beside your building supplies |
Wheat and beetroot use separate seeds. Carrots and ordinary potatoes are planted directly, so put some aside before cooking or trading the harvest. Poisonous potatoes cannot be planted.
If you are deciding what belongs in your food chest, our best Minecraft food guide compares useful survival meals. For crops grown mainly for emeralds, see the villager jobs and trading guide. Check a farmer’s actual offers before dedicating a whole field to one crop.
Build a Simple Starter Farm
Our favourite starter layout is a square vegetable garden with a path around the outside. It is easy to extend, easy to light and small enough to harvest while you are doing jobs around the base.
- Choose a flat 9 × 9 area of dirt or grass near your home. Leave extra space outside it for paths and a fence.
- Remove the centre block and fill that space with water. Keep the water at the same block level as the surrounding soil.
- Use a hoe on the remaining 80 blocks to create farmland. The soil will darken as it becomes hydrated.
- Plant your available crops. You do not need enough seeds to fill the entire plot on the first day.
- Add lighting around and, if needed, above the plot. Give yourself a clear entrance and keep animals outside.
- Harvest mature plants, reserve what you need for replanting, and store the rest beside the garden.
For a smaller first garden, build a 5 × 5 version using the same central water arrangement. Leave room to widen it later. A farm you can finish today is more useful than the outline of a huge field you never plant.
Give yourself somewhere to walk
Put regular paths around the farmland and avoid jumping onto the planted soil. A waterlogged slab in the central water space can also make the garden easier to move across while keeping a water source in place.
Water, Lighting and Crop Growth
Different crops have different rules. Wheat, carrots, potatoes and beetroot share the basic farmland setup, while sugar cane and bamboo need their own planting areas.
| What to check | What matters |
|---|---|
| Water reach | Water hydrates farmland up to four blocks away horizontally, including diagonally |
| Water height | For the starter layout, place the water at the same level as the farmland blocks |
| Light | Wheat, carrots, potatoes and beetroot need a light level of at least 9 to grow in Java Edition |
| Space | Keep the crop space clear and avoid putting a low solid roof directly over your plants |
| Active area | Natural growth depends on random ticks in an area the game is actively simulating |
| Maturity | Wait for the fully grown appearance before harvesting for a useful yield |
A central water block therefore covers the surrounding 9 × 9 square, with the water taking up one of the 81 spaces. You do not need a water channel between every row.
For an underground garden or enclosed greenhouse, make lighting part of the build from the start. Check the middle of the plot as well as the edges. A few decorative lanterns outside the building may leave the crops inside too dark.
Growth is random, so plants do not all finish together. Build close enough to your normal activities that the farm receives the simulation it needs while you work. Logging out and coming back later does not guarantee a completed harvest.
Bone meal can advance ordinary vegetable crops when you need a few extra items quickly. Use it to establish your first planting stock, then let the garden supply itself between harvests.
Pumpkins and Melons
Pumpkins and melons are grown from stems, and the fruit appears beside the stem. Planting every available space with seeds leaves nowhere for that fruit to form.
A simple option is a row of stems on hydrated farmland with a clear row of dirt beside it for the fruit. Use a separate path on the other side so harvesting does not involve hopping across the stems.
| Crop | Simple layout | What to harvest |
|---|---|---|
| Pumpkin | Hydrated farmland for the stem, with an empty space above adjacent dirt for fruit | Break the pumpkin and leave the stem |
| Melon | The same basic arrangement, with a clear fruit row | Break the melon and leave the stem |
Once a stem is mature, keep it in place for future harvests. Bone meal helps a young stem mature, but it does not instantly create a pumpkin or melon.
We would start with a short row of each. Check how much you use before extending the patch across half the garden. A few pumpkins beside a barn also make excellent decoration while you wait.
Sugar Cane and Bamboo
These tall plants are useful additions to a survival base, but neither belongs in the middle of your vegetable farmland.
| Plant | Where to plant it | Harvesting tip |
|---|---|---|
| Sugar cane | Dirt or sand directly beside water, with the water beside the supporting block | Break above the bottom block so the base remains planted |
| Bamboo | Suitable ground such as dirt, with open space above; no irrigation required | Leave the bottom section in place and collect the upper stalk |
For sugar cane, make a short water trench with a planting row along each side. Water must be directly beside the supporting block, rather than diagonally across a corner. Leave enough room to reach dropped items.
Java Edition reminder
Bone meal does not grow sugar cane in Java Edition. It works differently in Bedrock Edition. If a tutorial relies on instantly growing cane with bone meal, check which edition it was built for.
A bamboo patch needs no water and is handy near a workshop. Leave generous headroom and enough light at the growing tops. A narrow planting strip beside a path is easier to harvest than a dense thicket you have to squeeze through.
Keep the two patches separate enough that you can collect everything comfortably. Place a labelled chest nearby and use the first harvests to build up the planting area before spending the whole supply.
Harvesting and Useful Upgrades
Good harvesting habits make a small farm go further. Wait for mature crops, replant straight away, and give the produce a predictable home.
| Upgrade | Why we would add it |
|---|---|
| Replanting chest | Keeps seeds, carrots and potatoes available for the next planting |
| Composter | Turns spare eligible plant items into bone meal |
| Cooking corner | Makes it convenient to turn potatoes into useful meals |
| Fortune III tool | Increases carrot and ordinary potato yields when harvesting mature crops |
| Clear paths and labels | Makes different plots easier to use and expand |
| Nearby storage | Stops a quick harvest becoming another inventory problem |
Fortune behaves differently across crops. It increases the seeds from wheat and beetroot, rather than the amount of wheat or beetroot itself. Keep that distinction in mind before expecting every harvest to produce extra food.
For help choosing tool enchantments, read our Minecraft enchantments guide. Our storage guide also has ideas for keeping food, planting stock and building materials organised.
Automation can be a later project. A small manual garden is often enough for one player, and it is easier to spot problems before adding collection systems or redstone. If you do automate, choose a design for your edition and check your server’s farm rules first.
Common Farming Problems
| Problem | What to check first |
|---|---|
| Farmland stays dry | Check the distance and height of the water; water buried underneath is not the starter layout |
| A covered plot barely grows | Check light at the crops and whether the area is actively being simulated |
| Plants disappear when you harvest | Check that you are replanting and keeping planting items out of the food supply |
| Pumpkins or melons never appear | Leave an empty fruit space above suitable ground beside the stem |
| Sugar cane will not plant | Put water directly beside the supporting dirt or sand block |
| The field becomes dirt | Avoid jumping or falling onto farmland and keep animals out |
| The harvest overwhelms your storage | Reduce the plot or add a clear storage destination before expanding |
Change one thing at a time when troubleshooting. Test a small, open, well lit plot with nearby water before rebuilding an entire farm. Once that works, it is much easier to find what is different in the larger design.
Frequently Asked Questions
What is the best first crop in Minecraft?
We would choose potatoes for baked potatoes, or carrots if you want a crop you can eat and replant without cooking. Add a little wheat for bread and animals, then sugar cane for paper.
How much farmland can one water block hydrate?
One central water block can hydrate the farmland in a 9 × 9 square at the appropriate height. The water occupies the centre space, leaving up to 80 farmland blocks.
Can I build a farm underground?
Yes. Ordinary farmland crops can grow underground when they have enough light, suitable farmland and space. Check the light level across the whole plot, especially beneath a roof.
Do crops keep growing while I am offline?
Only if their area continues receiving the simulation and random ticks needed for growth. Another player may keep the area active, but simply leaving a farm overnight does not guarantee a harvest.
Does Fortune give more crops?
Fortune increases mature carrot and ordinary potato yields. For wheat and beetroot, it increases seeds rather than the wheat or beetroot item. Use a Fortune III tool for the crops where the extra yield is useful.
Why does bone meal not work on my sugar cane?
In vanilla Java Edition, sugar cane cannot be grown with bone meal. Bedrock Edition behaves differently, so check the edition before following a farm tutorial.
Do I need to replant pumpkin and melon stems?
No. Leave mature stems in place and harvest the fruit beside them. Keep a suitable empty fruit space available so the stem can produce another harvest.
Should I build an automatic farm straight away?
We would start with a small manual farm and expand when you know what you need. Before adding automation, check the design’s edition, collection system and any server rules that apply.
Grow Something Together
A good farm is one you enjoy using. Start with a few reliable crops, add a path and a little storage, then let the garden grow alongside the rest of your base. There is always room for another pumpkin beside the front door.
On TogetherCraft, our adult Minecraft server gives you space to settle in, build and share projects with a friendly community. If you enjoy the creativity of a Hermitcraft like server, a little farmhouse can be the start of something much bigger.
Read the TogetherCraft guide for server features and visit the Shop Directory when you need supplies. Ask permission before harvesting another player’s crops, and check the current server rules before planning a large automated farm.